This article provides a comprehensive guide of tips and tricks for window covering professionals to enhance their Roman shade craftsmanship. It draws on the expertise shared in the provided YouTube videos and blog post.
Fabric Selection and Preparation
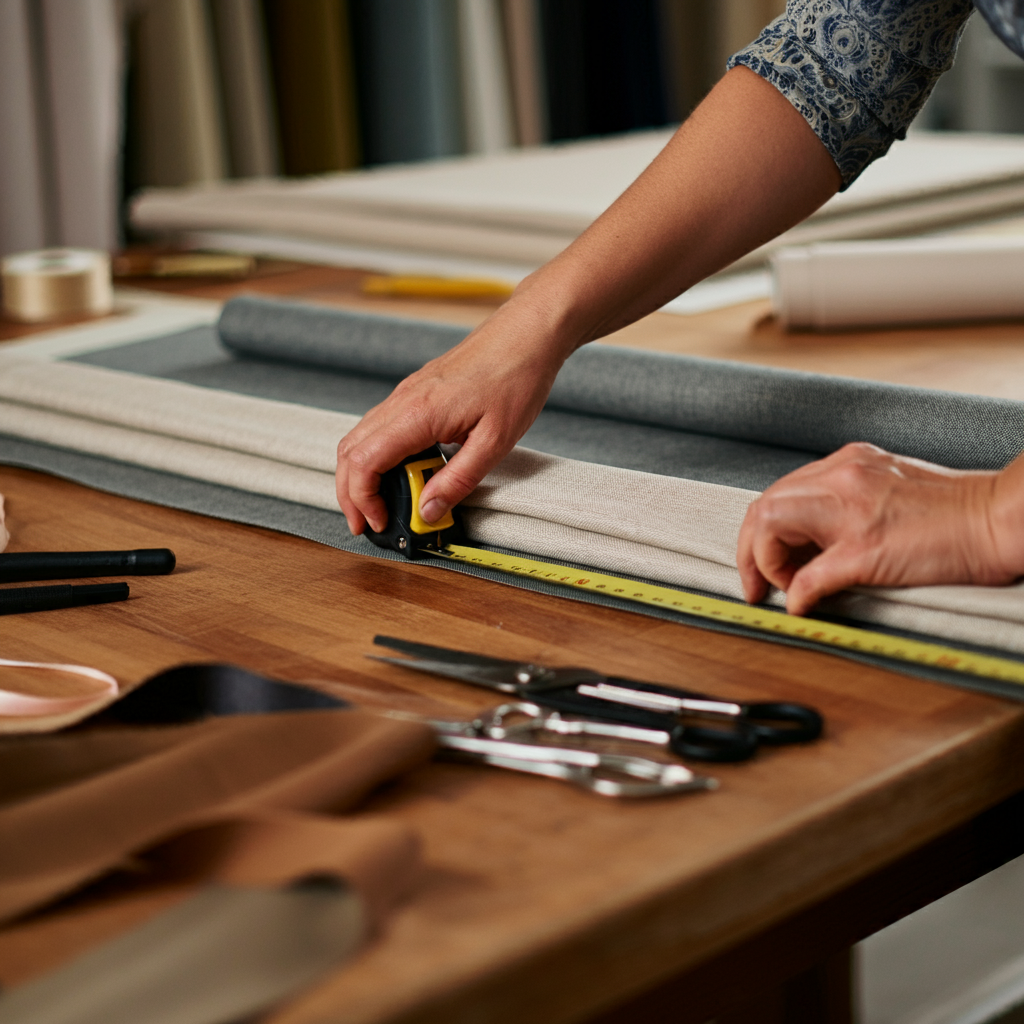
- Fabric Choice is Crucial: Opt for medium-weight, tightly woven fabrics that offer stability.
- Avoid excessively soft, drapey, lightweight materials as they lack the necessary structure.
- Steer clear of open-weave fabrics, as they compromise privacy and reveal shade mechanisms.
- Thick upholstery fabrics are also unsuitable, as they create excessive bulk when the shade is raised.
- Lining Considerations: Select lining appropriate for the desired light control and aesthetic.
- Exercise caution with blackout lining, as it can present challenges specific to Roman shades.
- Deep Hem for Longevity: Extend the bottom hemline significantly below the first fold.
- A deep hem (at least 2 inches visible) prevents unsightly fade lines caused by UV exposure on the folds.
- The first ring should be positioned half the ring spacing distance plus the desired visible hem length from the shade’s bottom edge.
- Generous Back Hem: Ensure a substantial hem (around 6 inches) is turned up on the back of the shade fabric.
- This provides ample material to securely attach the bottom row of rings, which bear the most stress.
- Precise Centering and Squaring: Meticulously find the fabric’s center and maintain squareness throughout the construction process.
- Frequent squaring with a table or work surface ensures a professional, symmetrical finished product.
- Crisp Pressing: Thoroughly press the fabric and lining to maintain sharp lines and accurate measurements, especially when working with stripes or patterns.
- Pre-pressing the lining before attaching it to the face fabric helps prevent creases and ensures accurate channel placement.
Ring Placement and Spacing
- Projection Minimization: Keep the projection (distance between the wall and shade front) as small as possible.
- A close mount enhances privacy, reduces light leakage, and minimizes visibility of mounting hardware.
- Employ a thin mounting board (e.g., 1x2) wrapped in coordinating fabric for a discreet yet finished look.
- Proportional Vertical Spacing: Adjust the vertical ring spacing to suit the window length and desired fold depth.
- Longer shades generally benefit from greater spacing (up to 10–12 inches) to avoid excessive fabric stacking at the top.
- Shorter windows may require closer spacing (5–6 inches) to maintain a pleasing number of visible folds.
- Horizontal Spacing for Stability: The horizontal ring spacing influences the fabric’s stability between the folds.
- For lightweight or less stable fabrics, closer ring spacing prevents sagging or drooping.
- Stronger, more stable fabrics allow for greater horizontal spacing (up to 10 inches).
Lining Attachment and Channel Creation
- Secure Lining Attachment: Employ a combination of basting techniques to firmly attach the lining to the face fabric.
- Herringbone stitch along the bottom edge anchors the lining and prevents a “dimpling” effect.
- Running stitch along the sides secures the lining while remaining invisible from the front.
- Reinforce stitching at channel locations to withstand the stress of raising and lowering the shade.
- Custom Channels for a Tailored Look: Avoid pre-bonded lining or tape for channels. Instead, create custom channels by sewing them in.
- This allows for precise channel placement and a higher-quality finish.
- Using wooden dowel rods to form the channels ensures consistent width and a clean, professional appearance.
Hardware and Finishing Touches
- All-White Hardware for a Clean Look: Use exclusively white rings, cords, and other hardware on the back of the shade for a cohesive appearance from the exterior.
- Stab Stitching for Secure Hardware Attachment: Use stab stitching to discreetly attach rings and safety clips, ensuring they are hidden from the front.
- Breakaway Clips for Safety: Incorporate breakaway clips on the first two rows of rings to meet child safety standards.
- Blanket Stitch for Durability and Neatness: Use a blanket stitch to attach rings and breakaway clips, providing a secure and aesthetically pleasing finish.
- Invisible Velcro Attachment: Conceal the Velcro used to attach the shade to the headrail by folding the excess fabric over it.
- Dowel Rod Placement: When inserting dowel rods into the channels, ensure the flat side faces upwards for optimal stability.
- Securing the Bottom Bar: Attach the bottom bar within the front fold of the shade hem to minimize rolling.
- Headrail Installation: Carefully measure and mark the placement of the headrail cassettes to align with the stitched rings.
Additional Considerations:
- Cord Type: While the source doesn’t specify a particular cord type, using a high-quality drapery cord ensures smooth operation.
- Washing: Roman shades with dowels typically require dry cleaning or careful spot cleaning.
By implementing these techniques, window covering professionals can elevate the quality and aesthetic appeal of their Roman shades, exceeding client expectations and showcasing their expertise.